Tessaract's Digital Signing makes it extremely easy for your clients and stakeholders to sign your paperwork, eliminating a major hurdle to working with you. Once a signatory receives a notification message in their inbox, all they'll need to do is click the included link – it'll take them to your firm's public-facing Tessaract dashboard to start the process.
This article provides a walk-through on digitally signing a document with Singpass on Tessaract Digital Signing.
Digitally Signing Documents
Signing The Document
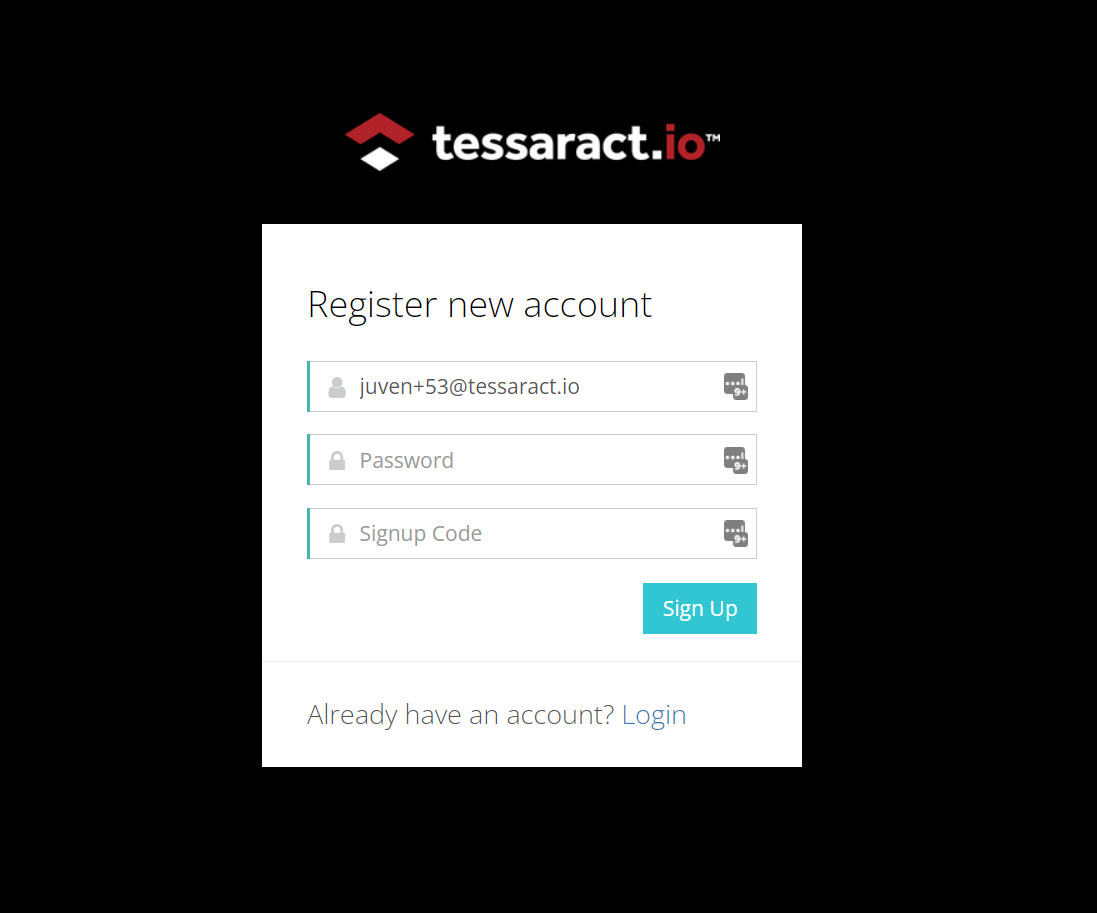
You'll need to create a Tessaract account before signing the document. Doing so is free, and it gives you the extra protection of identity verification along with email notifications to keep you in the loop.
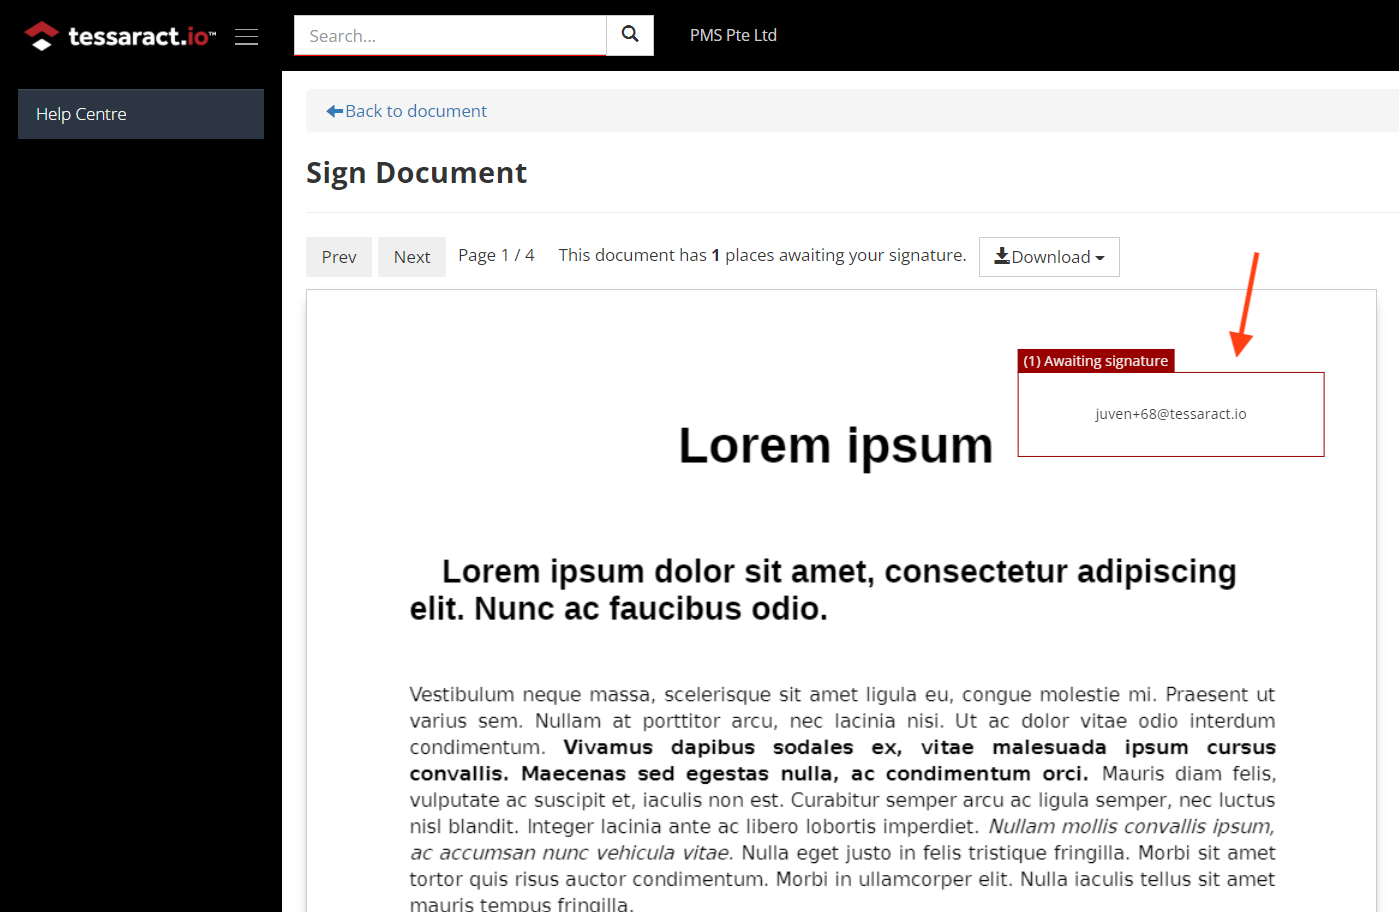
Once you've created the account, log in to your Tessaract account, and you'll see the document in full. You can review it right there in the app or download a copy.
.png?width=1402&name=2B%20Signing%20the%20Document%20(1).png)
Once you are ready to sign, find the signature box with your email address (the same address where you received the notification message). From here, you've got a few different options – you can sign by:
- Scribbling using your mouse/stylus, or
- Typing your initials, or
- Uploading an image file containing your preferred signature, or
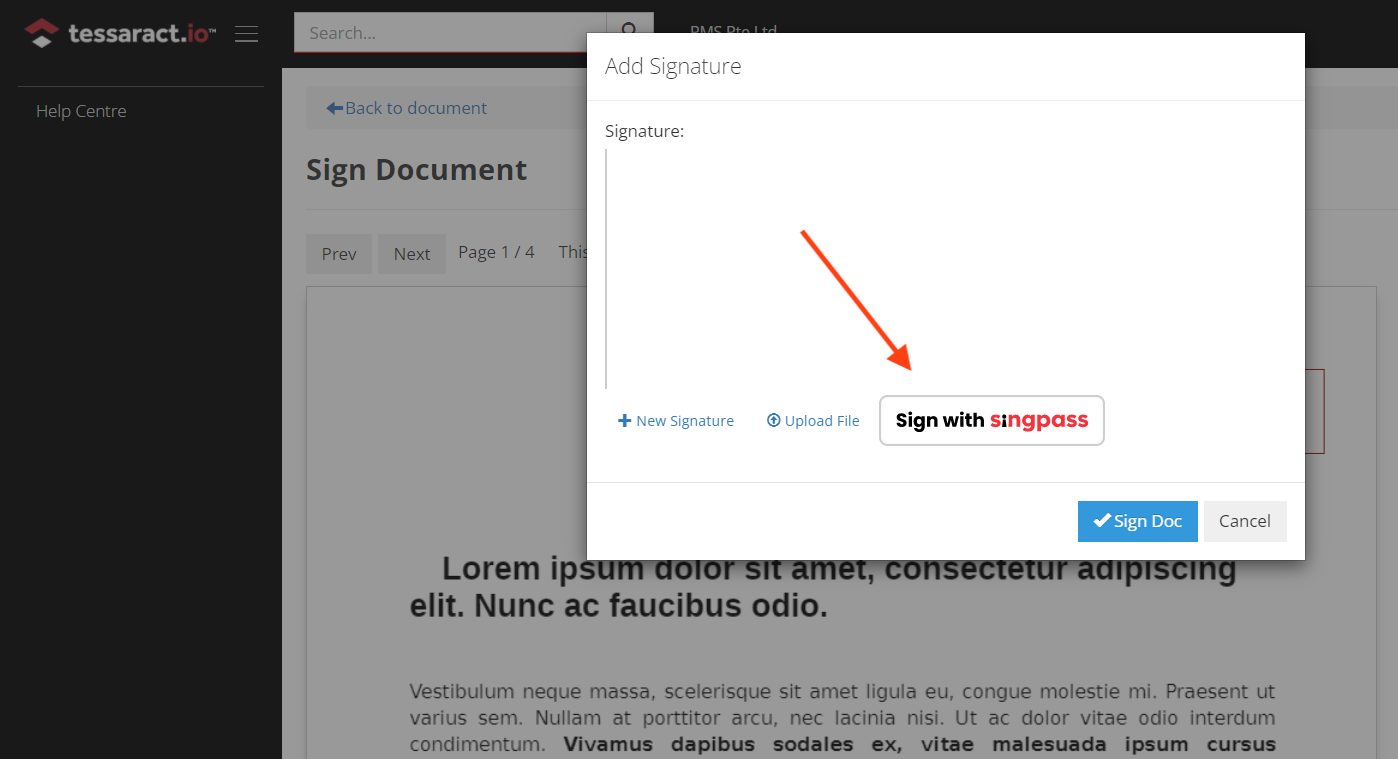
- Digitally Signing with Singpass
The rest of the guide walks you through digitally signing with Singpass.
Digitally signing with Singpass
Digitally Signing The Document With Singpass
To sign the document with Singpass, click the "Sign with Singpass" button. You'll see a popup with a numeric reference code and a QR code.
Open the Singpass app on your mobile device, and scan the QR code shown on Tessaract. Make sure the numeric code that pops up matches the one from before. If they match, select the sign option on your mobile.
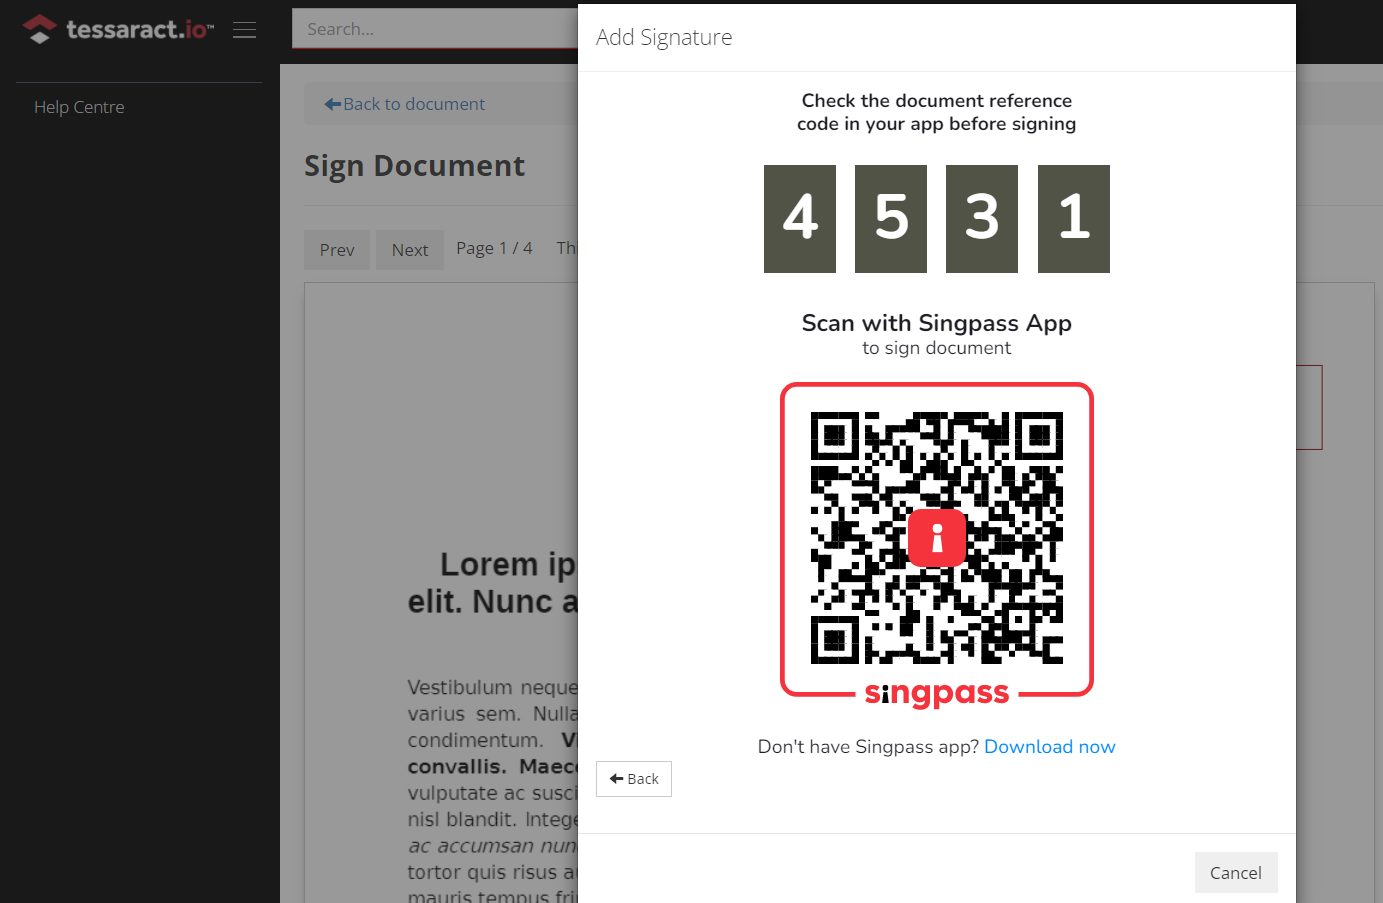
The Singpass app will authenticate your identity using your phone's security system, such as through FaceID.
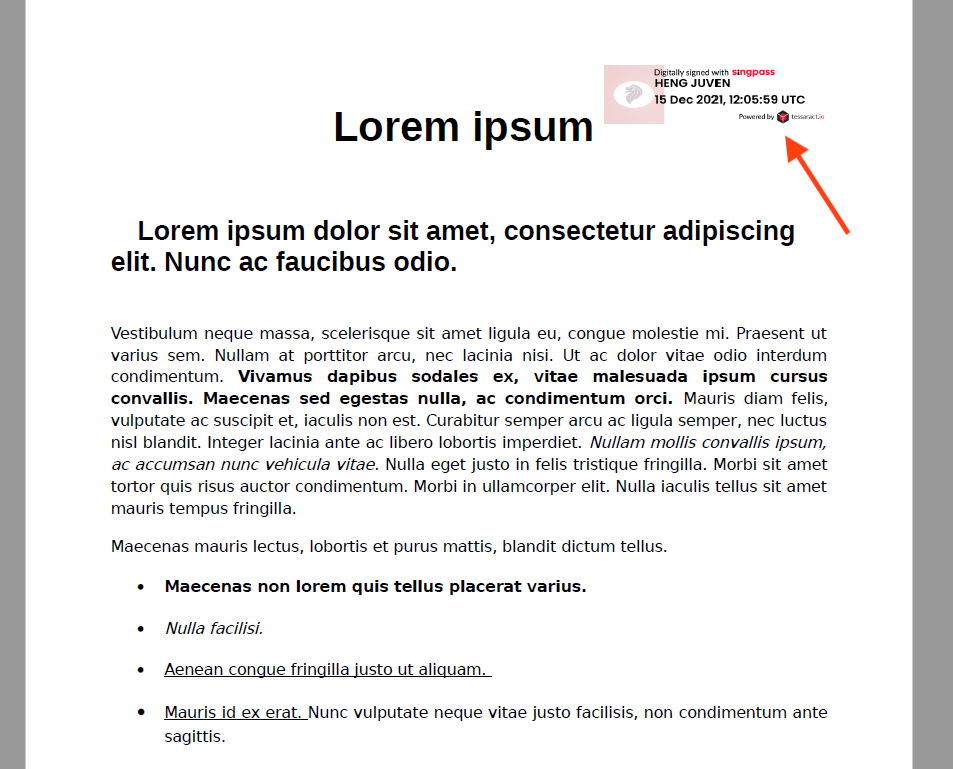
From there, you're all set. If you like, you can check the document in the Tessaract app to see that your signature was automatically inserted.
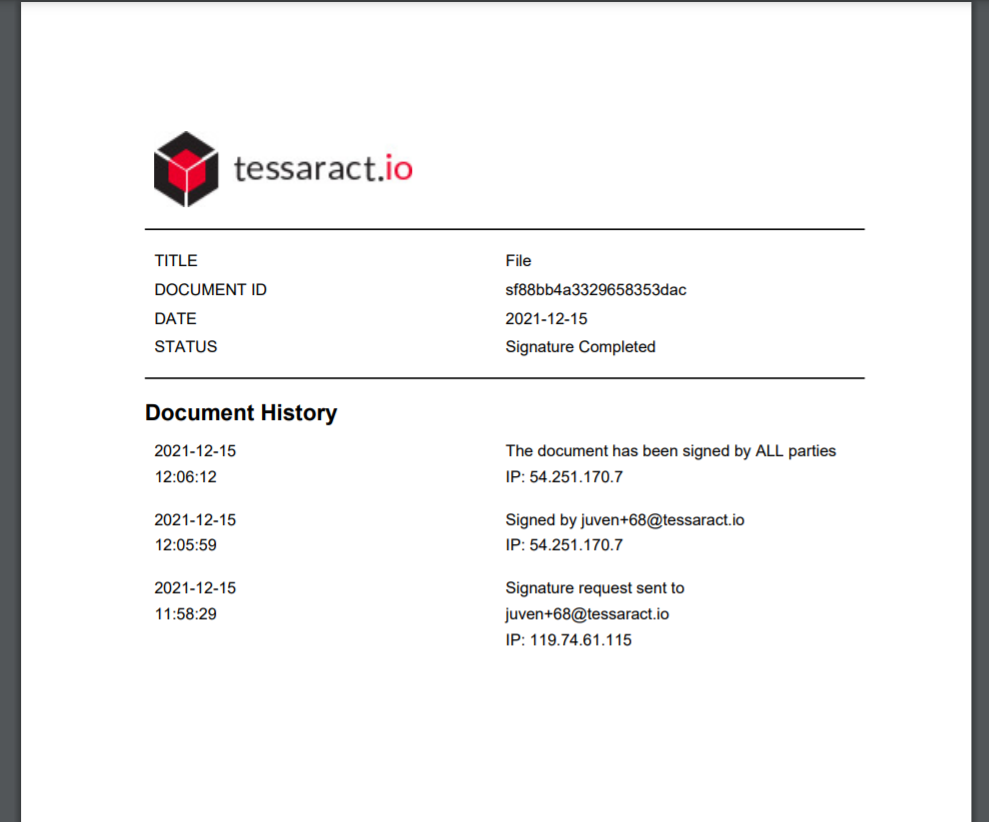
After Signing
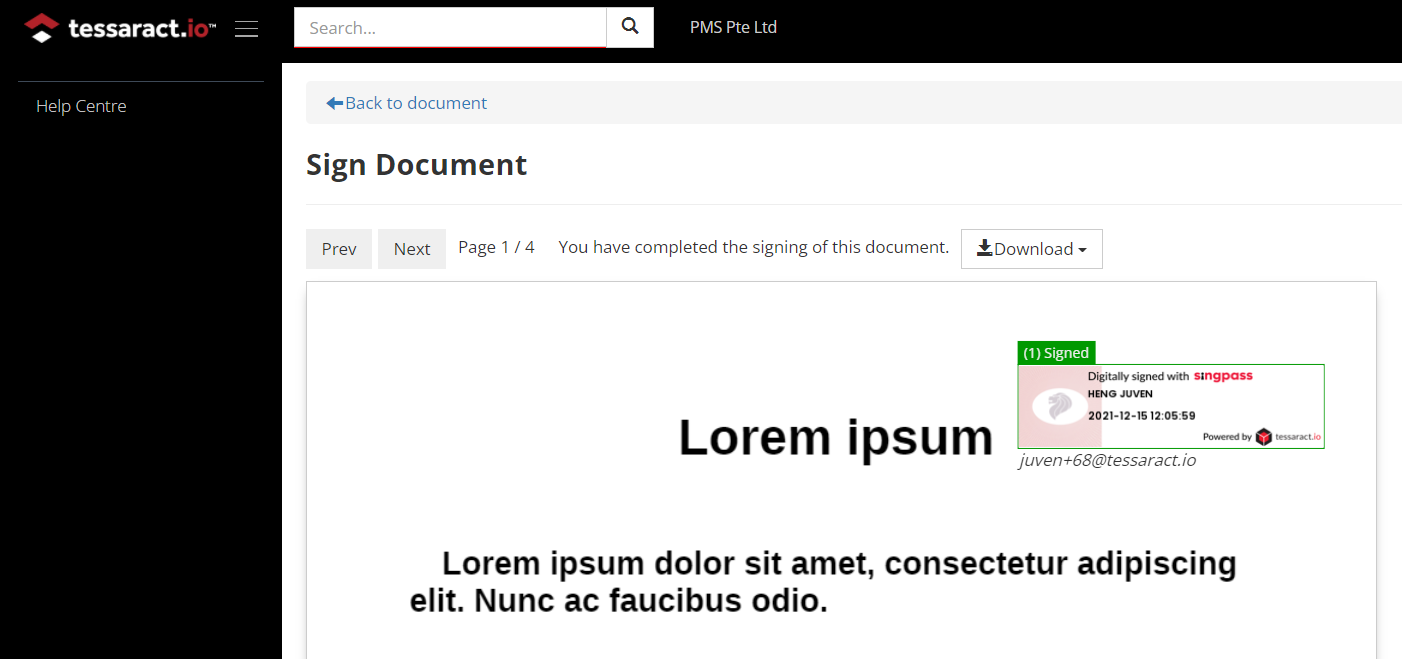
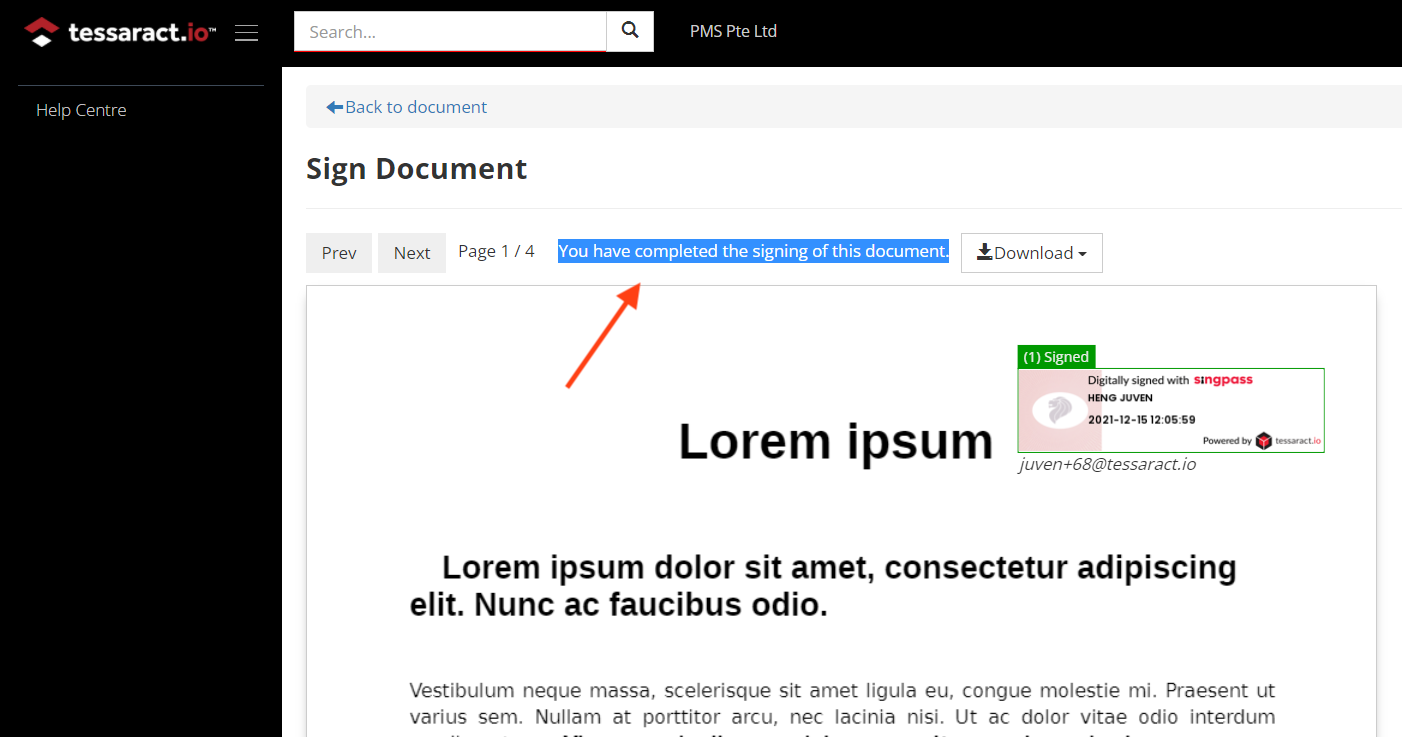
Take a look at the status message at the top of the document view page. You'll notice it's changed to "You have completed the signing of this document" to let you know you're all finished signing.
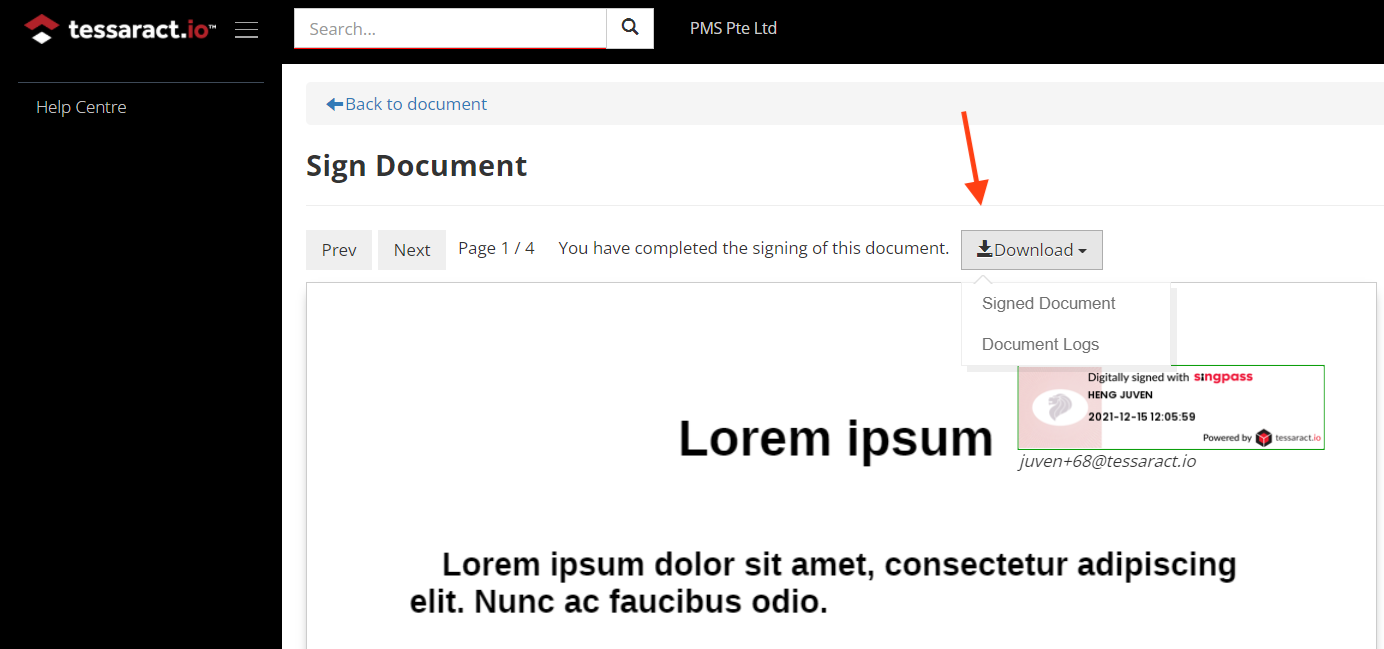
To download a copy, you can click the download button. You can also review the timestamped document log for an audit log, check the overall progress, and even see the IP addresses of the people who added their digital signatures.
Tessaract Digital Signing
With Tessaract Digital Signing, you can generate documents pre-filled with customer data in just a few clicks, send it for signing and receive the signed copies all on Tessaract. With signing with Singpass, you can also ensure the identity and authorisation of the signing party.
There are numerous advantages of utilising Singpass for digital singing such as saving time and resources to optimise your workflow. For more detailed insights on Singpass and digitally signing, you may refer to our article on: 'Digital Signing Singapore: Tessaract & Singpass'.
Tessaract Digital Signing is available as a standalone product. Simple and convenient, learn how to digitally sign on Tessaract even without the need for Singpass.
Request for a demo today.